On the go bucket bag
When it comes to accessories one cannot have too many bags and this crochet bag is a quick project to add to your collection.
Using simple stitches and an all in one construction this bag is great for crocheters of all skill levels.
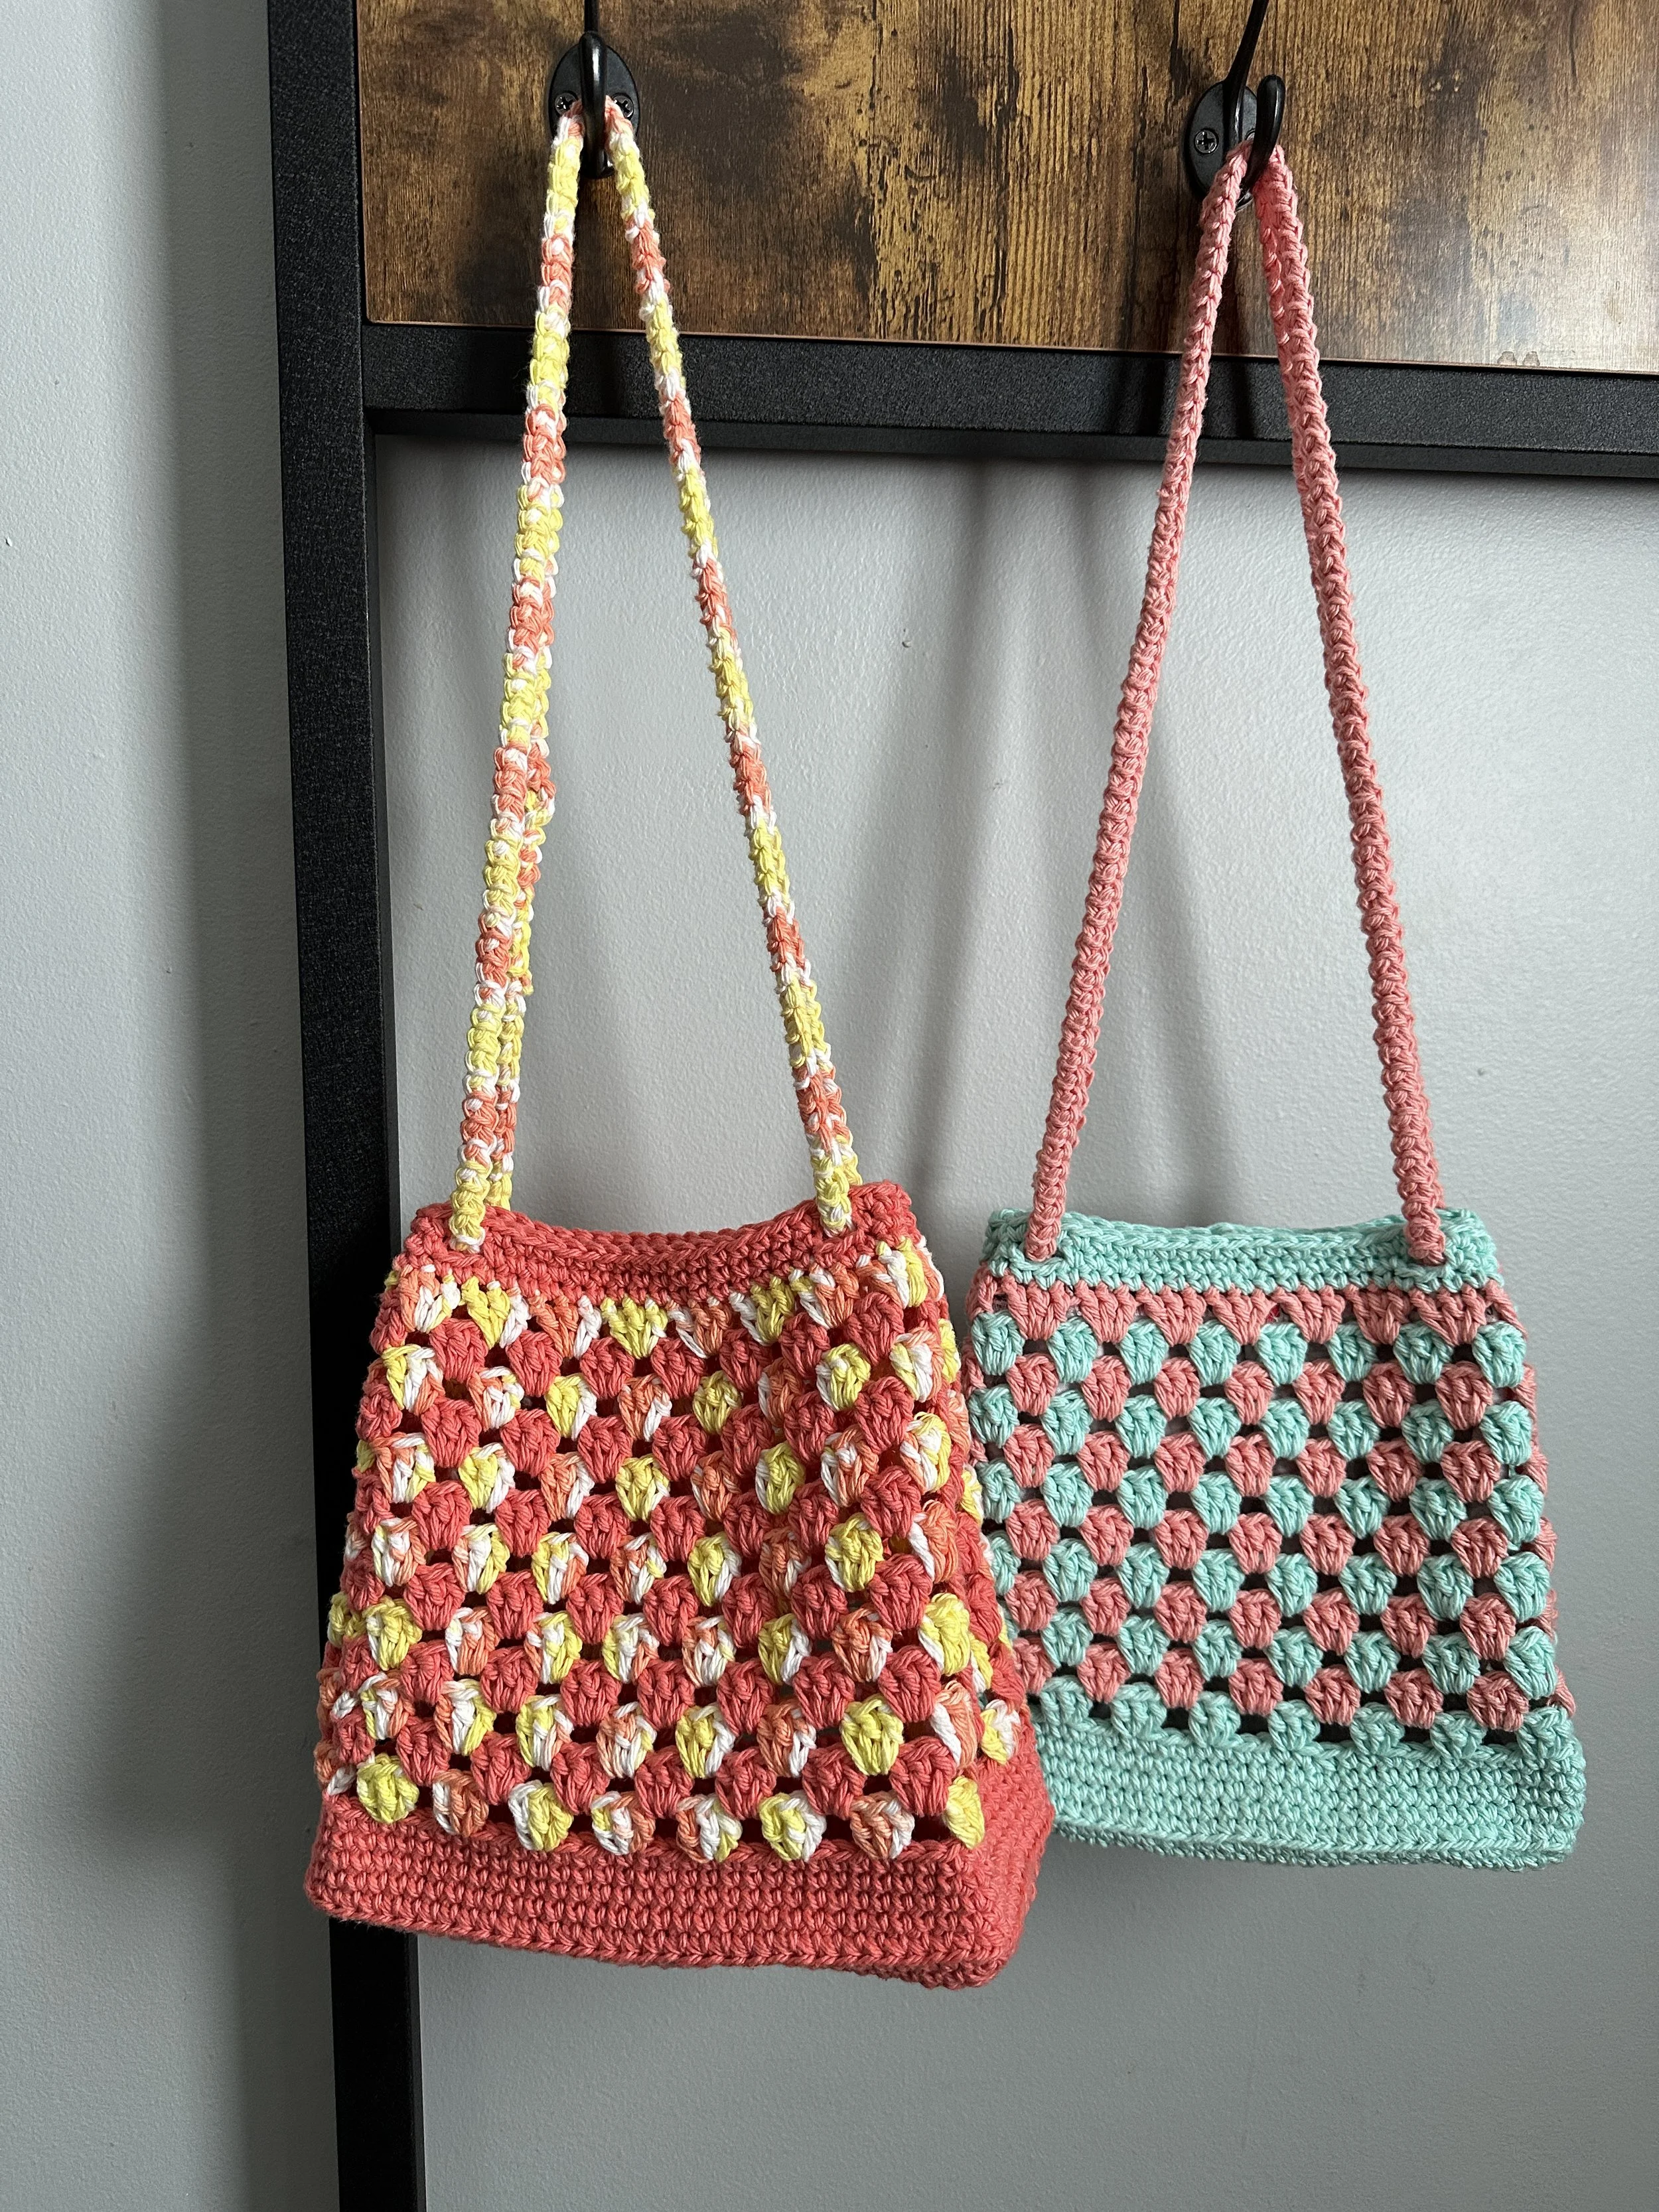
The bag is created by first making a rectangle to form the base then we transition to working in the round to build up the sides of the bag.
Materials
Yarn: Bernat Handicrafter #4, 100%
Cotton, 1.75 oz/50 g.
Main Colour: Tangerine - 2 skeins
Contrast Colour: Creamsicle - 1 skein
Alternate yarn : Lily sugar n’ cream #4,
100% cotton, 4 oz/113 g. 1 skein per colour
Hook: 4.5mm/7
Other Tools: stitch markers, Scissors,
Yarn Needle
Gauge
4 Stitches x 4.5 Rows = 1” (2.5 cm) in SC
(gauge for this project is approximate)
Size
Length x Width x Height
7" x 4" x 8"
Pattern Notes
sc followed by a number (sc 4), means to sc in the next 4 stitches.
3rd loop refers to the horizontal loop below the back loop of the stitch.
Cluster refers to a set of 3 dc.
Full Tutorial on YouTube and time
stamps for sections are provided in
the instructions.
Abbreviations
ch chain
sc single crochet
ch-sp chain space
sp space
dc double crochet
st(s) stitch(es)
sl st slip stitch
sk skip
rep repeat
rnd round
PM place stitch marker
RM remove stitch marker
CC change colour
Instructions
ROW 1: Ch 33, working into the button bump of your ch, sc in the second ch from hook and each ch across, ch 1, Turn. (32 sc)
ROW 2: sc in each st across, ch 1, Turn. (32 sc)
ROW 3-16: rep row 2, at the end of row 16, ch 1 and DO NOT TURN YOUR WORK.
ROW 17: Rotate work to begin working into the side of your rows, PM in your ch 1, work 1 sc in the side of each row (16 sc), ch 1, PM, rotate your work to begin working across the other side of your starting ch, 1 sc in each ch across (32sc), ch 1, PM, rotate your work to begin working down the other side of your rows, 1 sc in the side of each row (16 sc), ch 1, PM, rotate your work to begin working into row 16, 1 sc in each st across (32 sts). At the end of row 17 you should have a total of 96 sts DO NOT count the ch 1 made for each corner. [02:25]
We will now begin to work in the round.
Rnd 1: RM, sk ch 1, sl st to first sc to begin working in the rnd. Insert hook under the back loop and the 3 rd loop of first st and work a sc, *sc under the back loop and 3 rd loop of each st to next marker, RM, sk ch 1, rep from * to end of rnd, sl st to first st. [06:22]
Rnd 2: ch 1, sc in each st around, sl st to first st.
Rnd 3-5: rep rnd 2.
Rnd 6: CC, ch 3 (counts as a dc throughout), 2 dc in first st, *ch 1, sk 3 sts, 3 dc in next st, rep from * to last 3 sts, ch 1, sk 3 sts, sl st to the top of the ch 3. (24 sets of 3 dc) [09:48]
Rnd 7: CC, ch 3, 3 dc in each ch 1-sp to last ch 1-sp, 2 dc in last ch 1-sp, sl st to top of ch 3.
Rnd 8: CC, ch 3, 2 dc in same sp as ch 3, 3dc in the sp between each cluster to end of rnd, sl st to top of ch 3.
Rnd 9: CC, ch 3, 3 dc in the sp between each cluster to last sp, 2 dc in last sp (behind ch 3) sl st to top of ch 3.
Rnd 10 -18: rep rnd 8 and 9
Rnd 19: CC, ch 1, sc in each st around, sl st to first st. (72 sts)
Rnd 20: ch 1, sc in first st, sc in next 2 sts, ch 2, sk 2 sts, sc 4, ch 2, sk 2 sts, sc 4, ch 2, sk 2 sts, sc 16, ch 2, sk 2 sts, sc 4, ch 2, sk 2 sts, sc 4, ch 2, sk 2 sts, sc 4, ch 2, sk 2 sts, sc 16, ch 2, sk 2 sts, sc 1, sl st to first st. (56 sts, 8 ch 2 sps) [18:40]
Rnd 21: 1 sc in each st, 2 sc in each ch-sp around. (72 sts)
Fasten off and weave in ends.
Strap
ch 2, sc in 2 nd ch from hook, rotate work clockwise, sc in skipped ch, *rotate work, insert hook under both horizontal bars on the left side of your work (3 loops on your hook), yo, pull through 2 loops, (2 loops on your hook), yo, pull through both loops on your hook*, rep ** until your strap is 55 inches long. Fasten off leaving a 6" tail. [22:29]
Assembly
Fold the sides of the bag inward and line up the eyelets, feed the straps through, ensuring it’s not twisted, then sew the ends of the strap together and weave in the ends.
Support my free content by buying me a coffee.